Extendable round Dining Table under 150$
Posted 28 Oct 2018
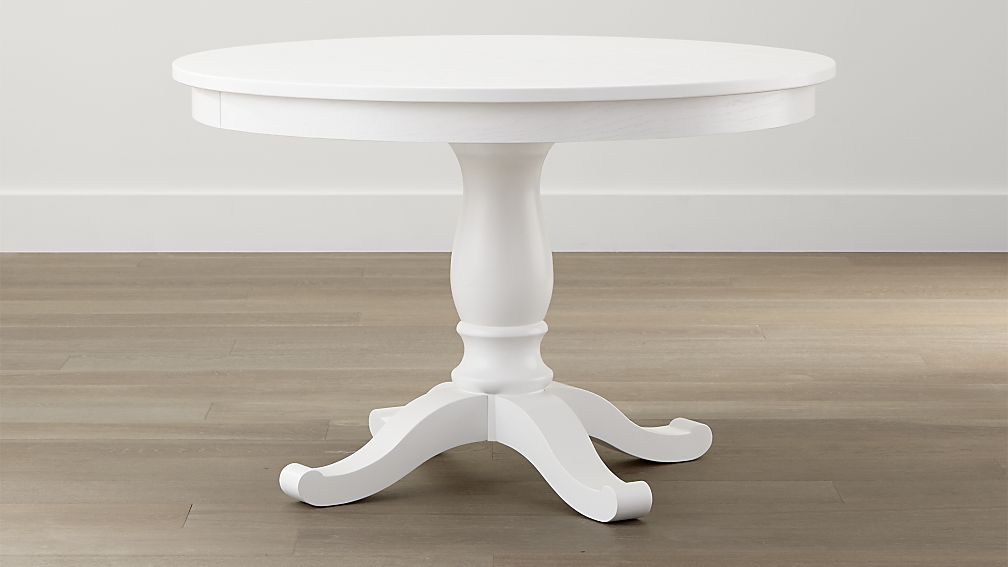
My wife (AJ) found this beautiful round dining table at crate and barrel that would sit 4 people, with the extension leaf it can seat a total of 6 people. Though it was priced about right. I figured if we build one ourself, it would help start building my anemic tool collection and get me used to wood work. Ours is a 100 year old house and there is a ton of work to keep it in a good shape. So IMO it made total sense to build it.
On the other hand, AJ wasn’t entirely convinced as it would be our first mid-level project, so far our DIY was limited to painting cabinets and walls. I promised her if I screwed up, I will buy her dream dining table from crate and barrel.
Her dream table from crate and barrel 500$,
I researched into different blogs, Ana white had some amazing round table complete with plans. I picked this plan:Round Table Plan . One minor issue, none of her plans had extension leafs (at least not when I looked at it). My project manager a.k.a my wife wouldn’t sign off on one without extension leaf also she had very specific size requirements to fit in our smaller kitchen - had to be 54 inch with leaf insert. Without extension 4 people and with extension 6 people.
Here goes my journey:
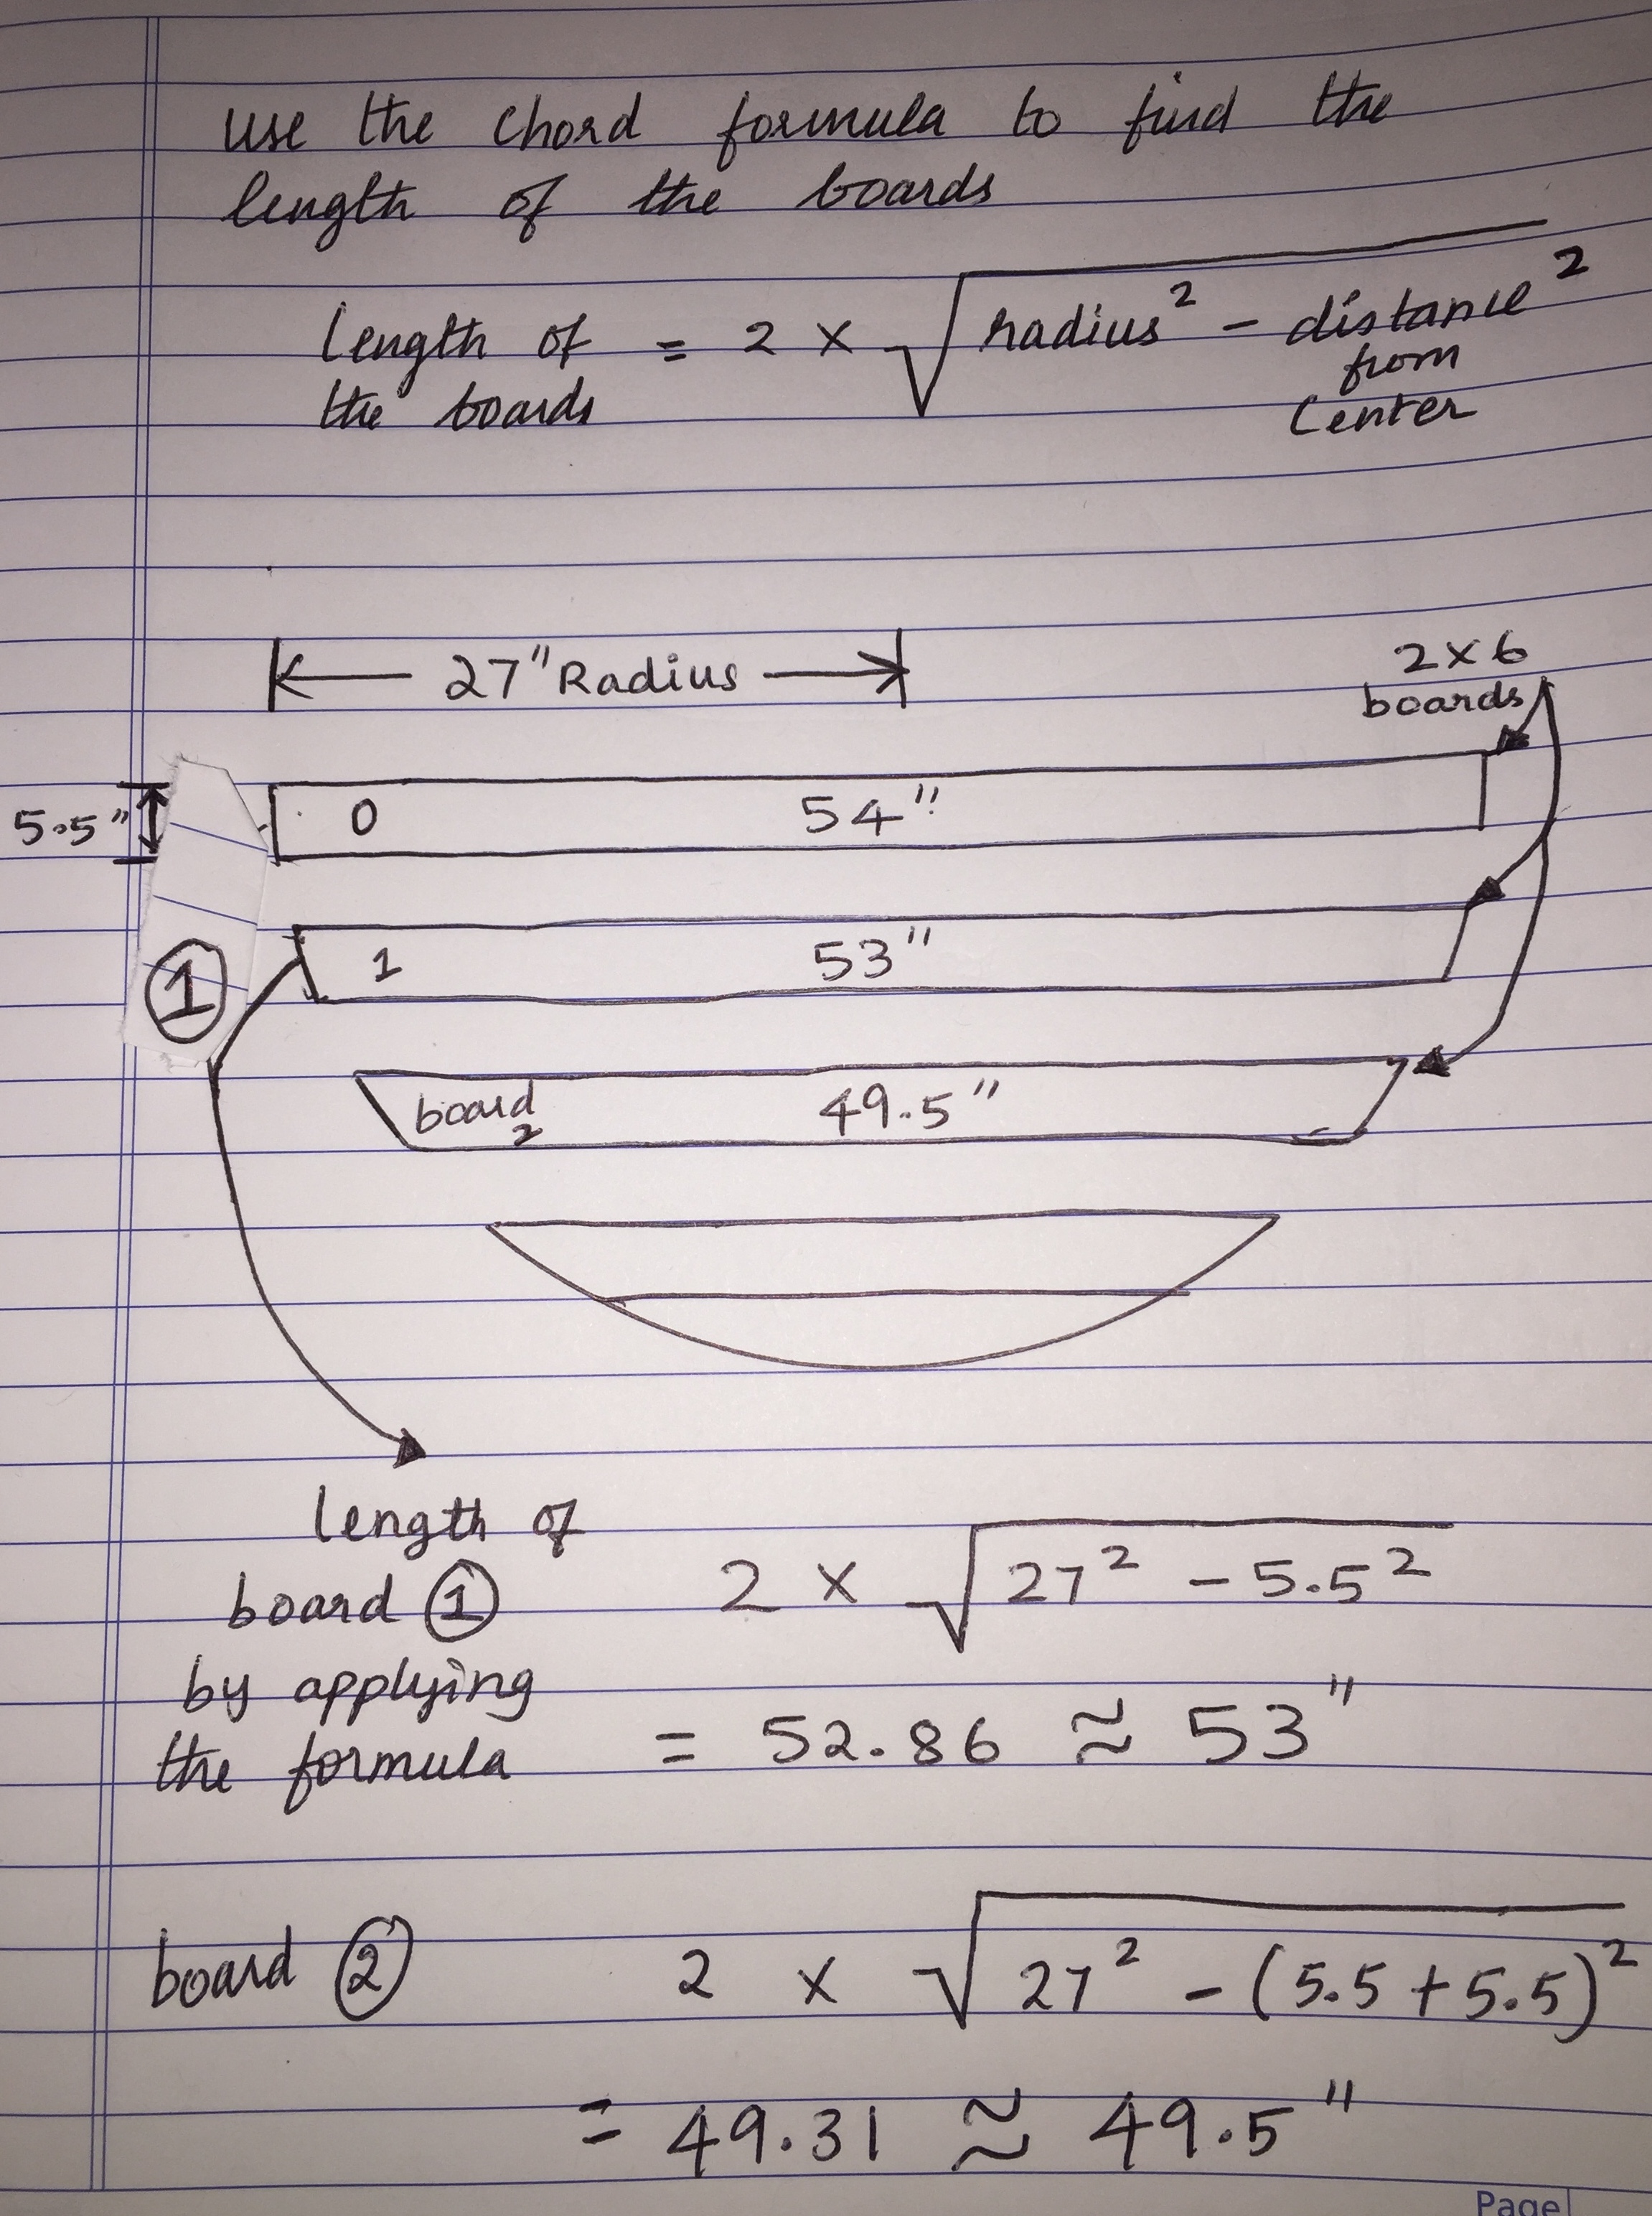
Little math if you want to save wood and cuts, use the formula to find the length of a chord.
We know the radius and the perpendicular distance from the chord to the circle center, then using the following formula
Tools required
- Nail gun
- Wood glue - elmers or titebond
- 2 inch Brad nails
- Kreg jig
- 2 1⁄2 inch and 1 1⁄4 pocket screws
- Clamps
- Jigsaw to cut a circle
- Screw driver
- Equalizer for extension, for 60 inch table I used the following equalizer.
I didn’t buy a mitre saw, in hindsight it might have made things a lot easier.
Step by step instructions
Plan is an evolution of ana-white’s Round Trestle table plan:
Step 1:
Cut 2x6s based on above formula, add extra .5” or 1” to account for any mistakes you make in the formula :)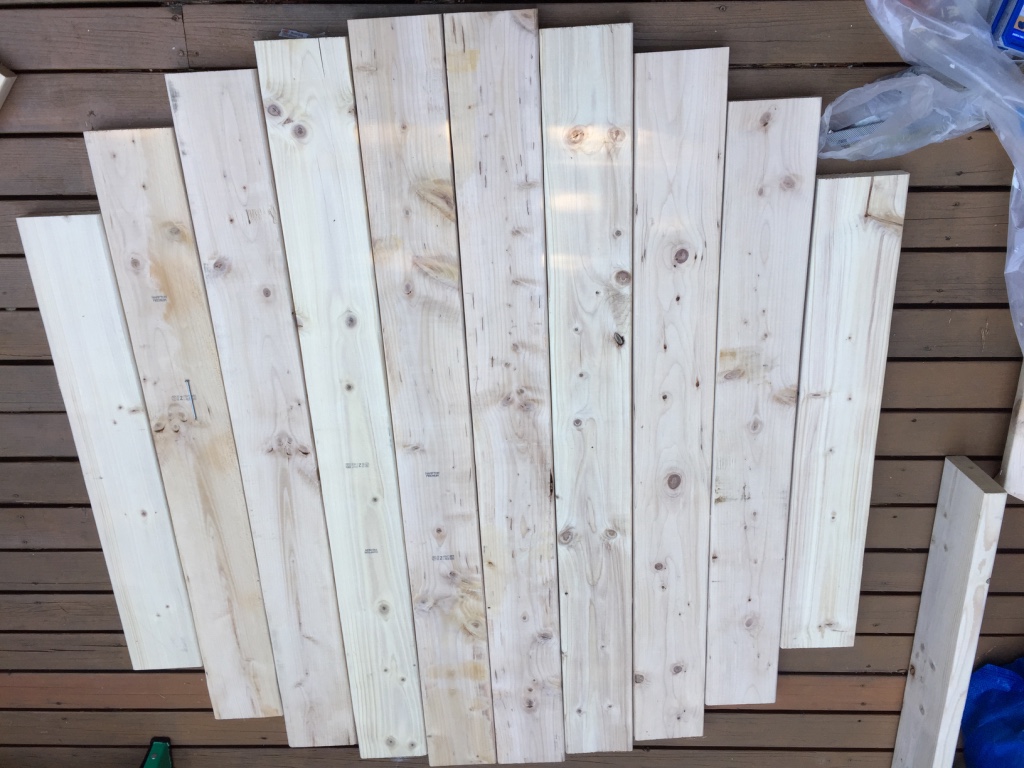
Step 2:
Lay them all, put couple of pocket holes per board to hold the wood together.IMPORTANT NOTE: Make sure your pocket holes are further from the circle edge, so when you cut your cirle the screws don’t stick out. For 2x6” boards, use 2 1⁄2” pocket hole screws
Step 3:
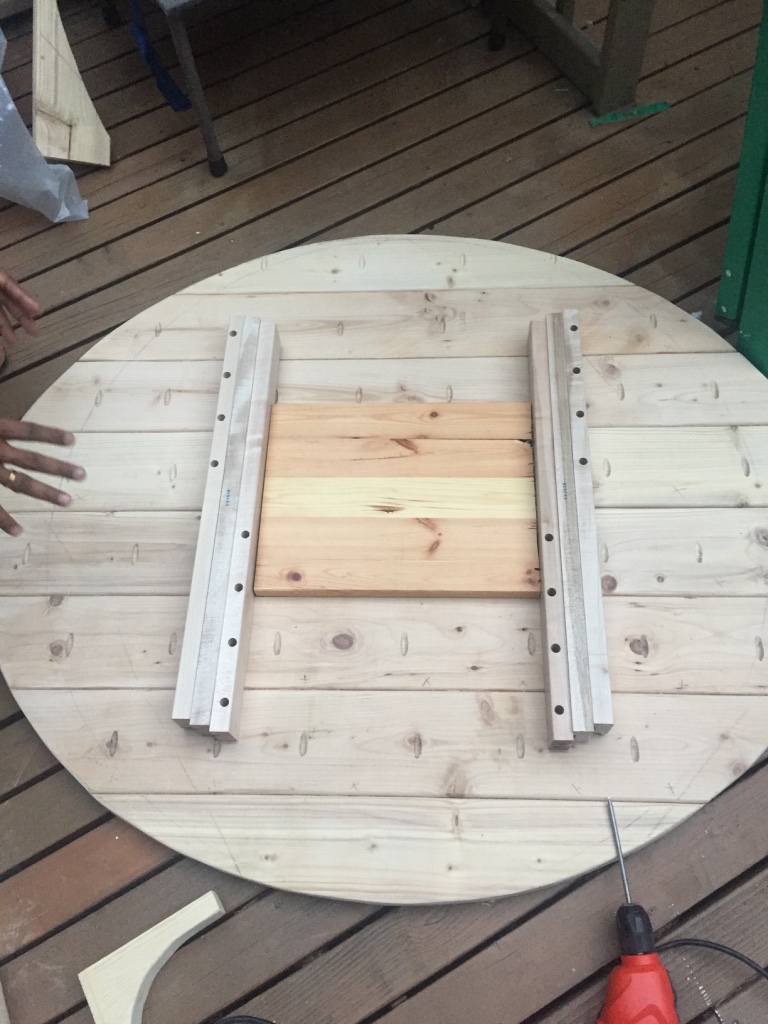
Screw the boards together and then draw a circle.To draw the circle,
a) cut a piece of string to the radius of your table.
b) put a nail in the center of your middle boards
c) tie the string to the nail and on the other end a pencil or pen, draw a circle
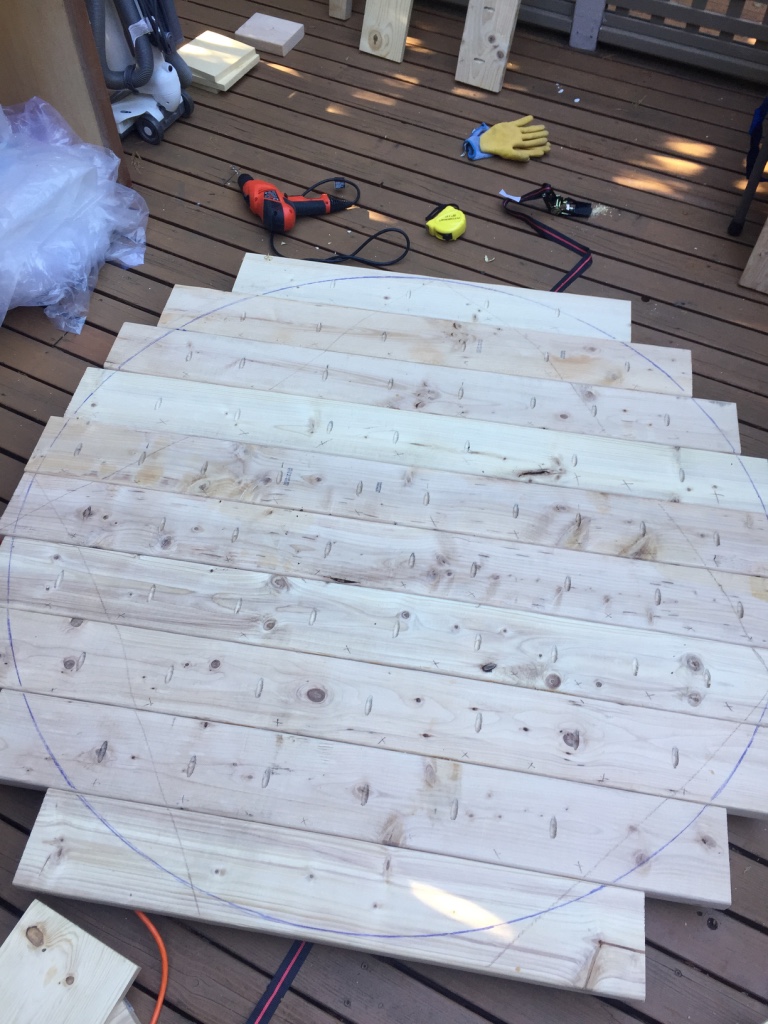
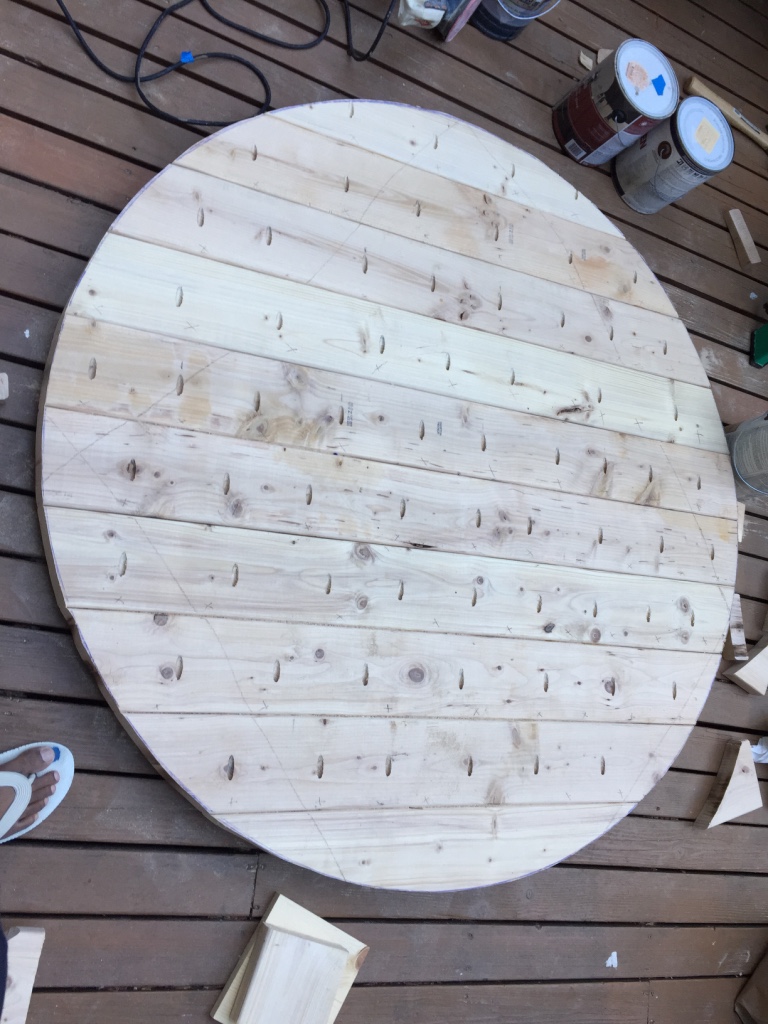
d) Cut a circle along the draw line using Jigsaw
e) Build pedestal center

   Cut 2x3 and 2x6 to length, glue it together, use brad nails
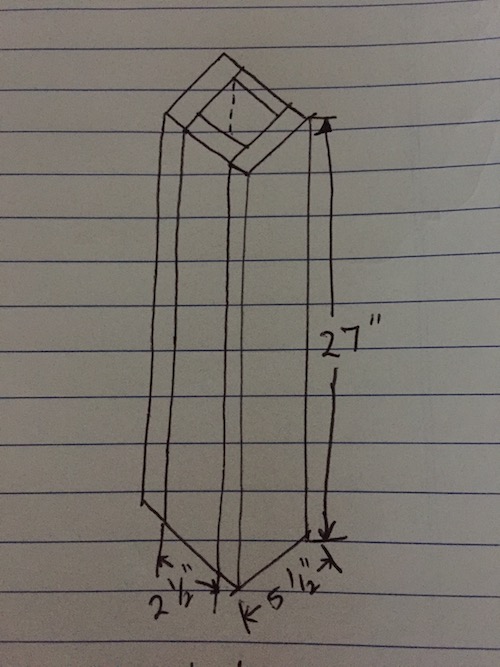
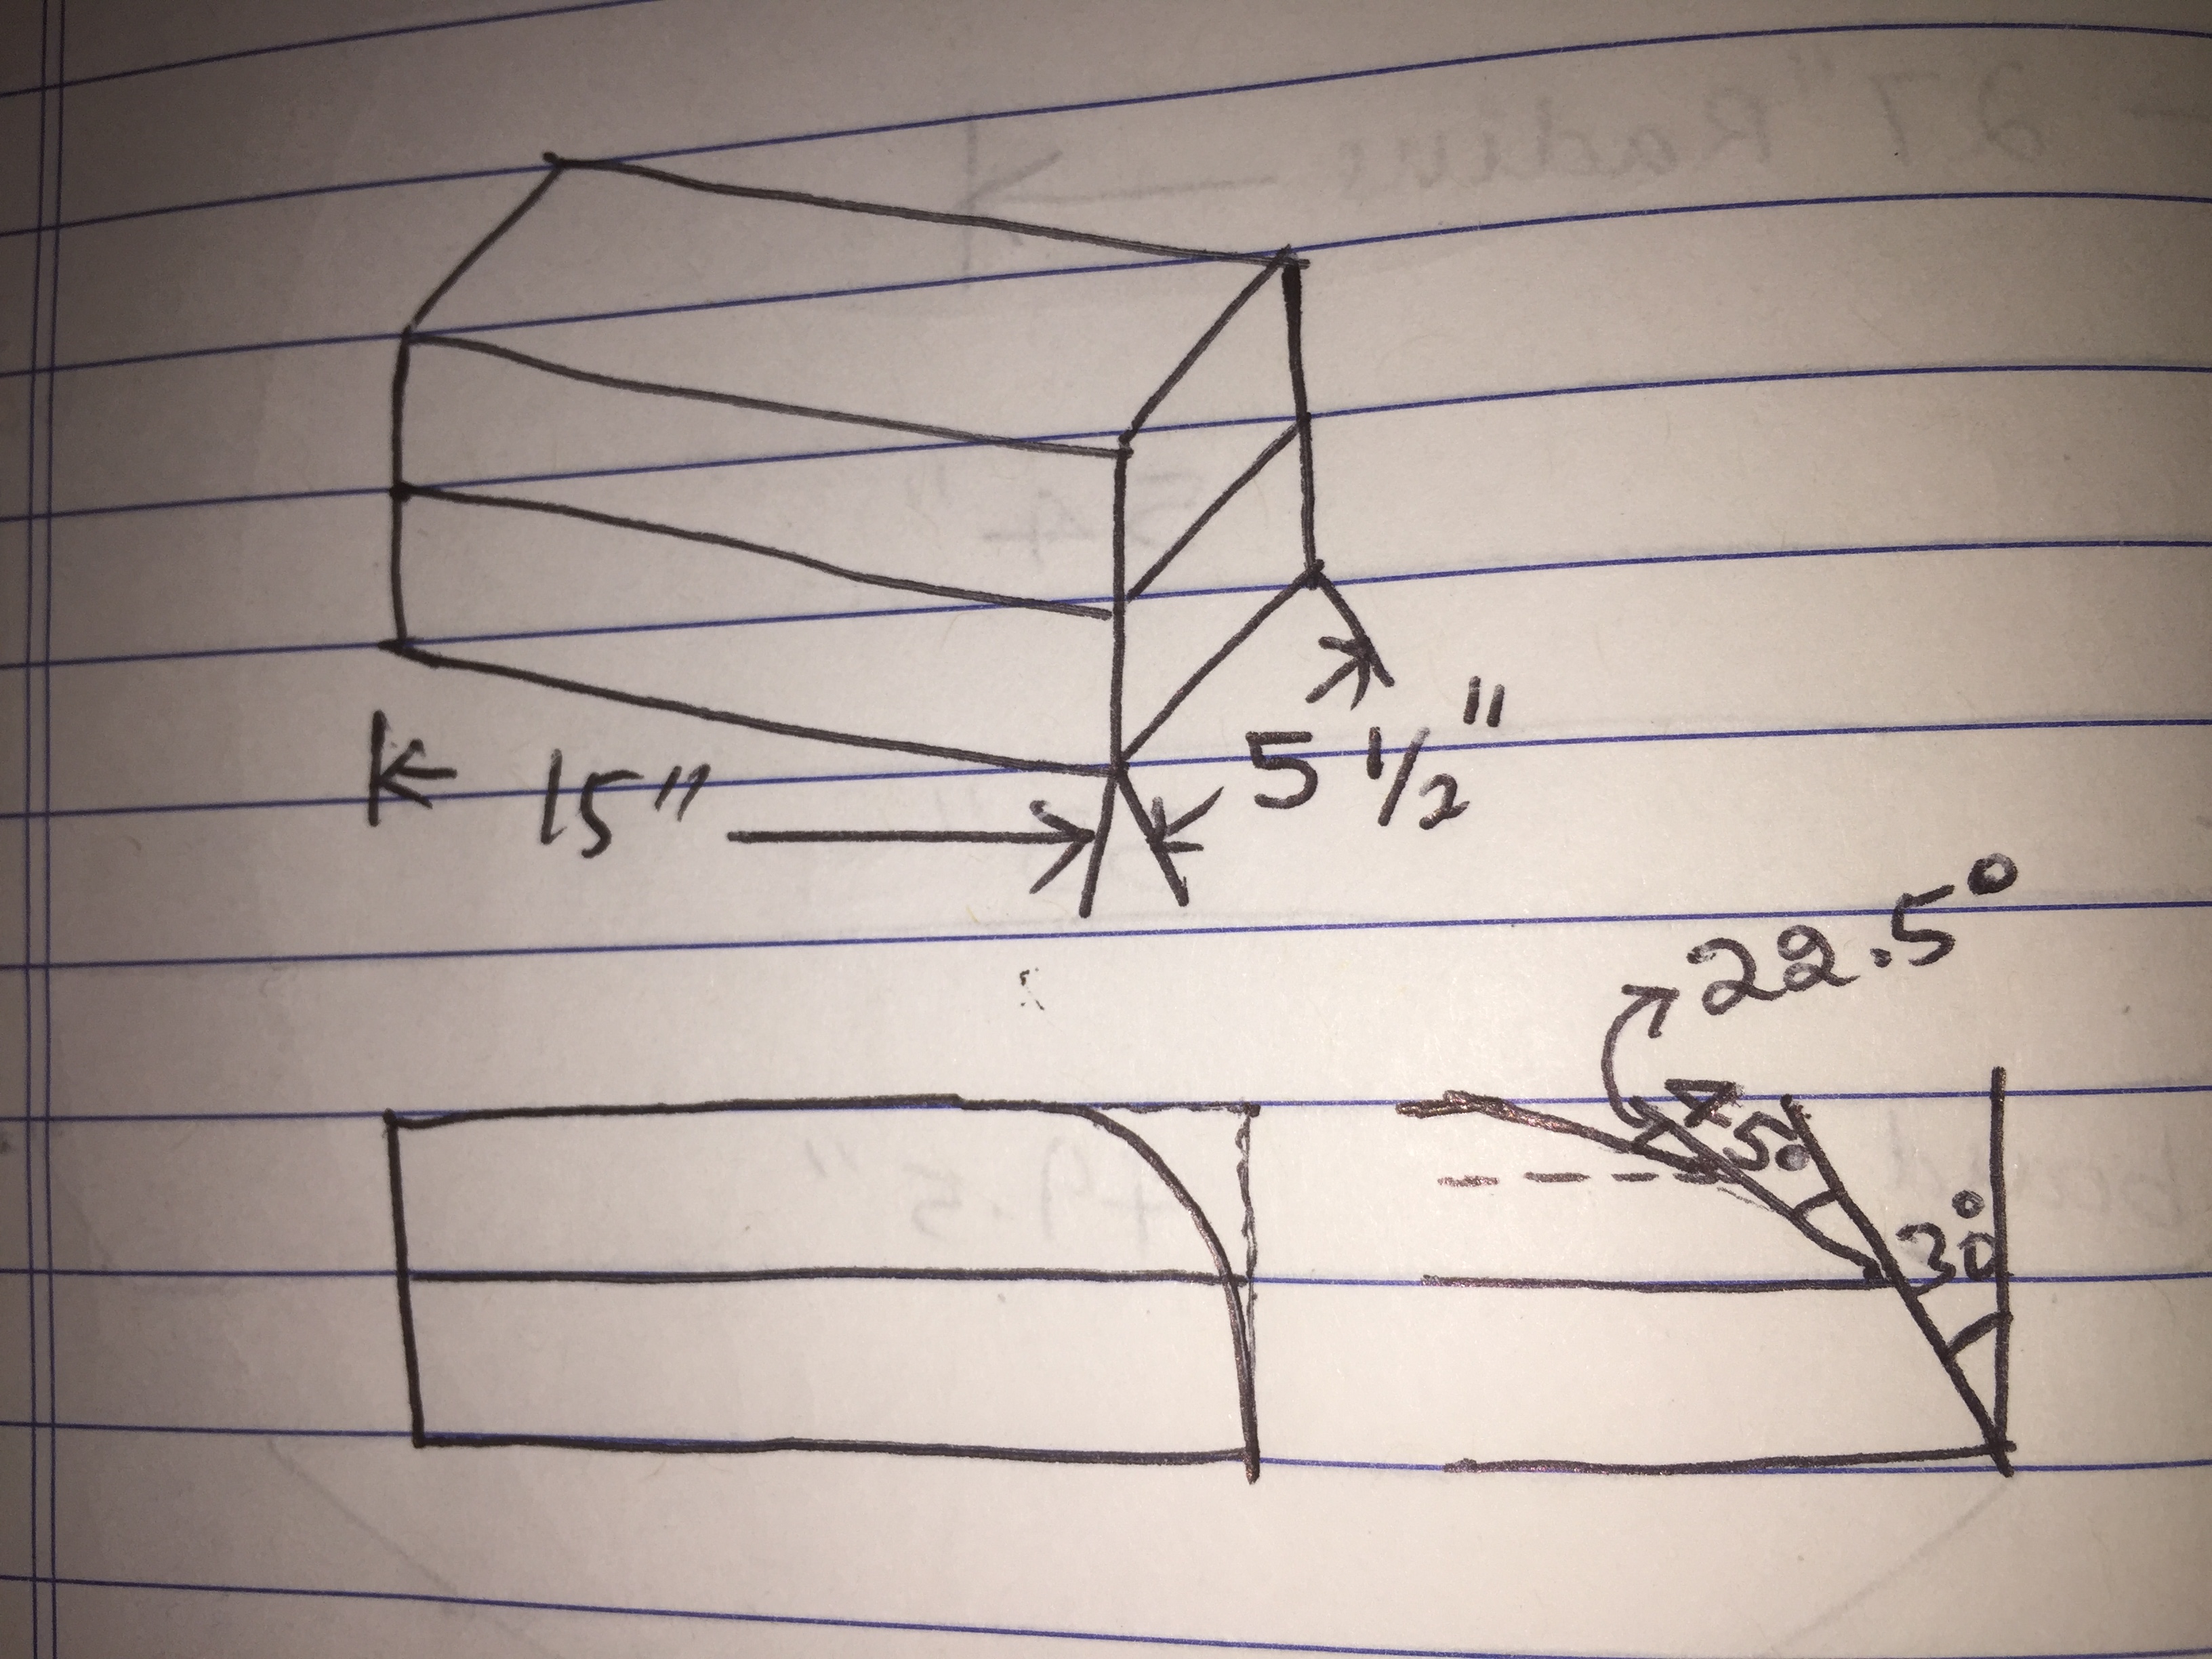
f) Build foot and top

   Cut 2x6 to length, glue it, add brad nails and angle cut the edge to a smooth curve
Attach 1x6 to bottom of the foot (do this only for the 4 foot pieces)
Step 4:
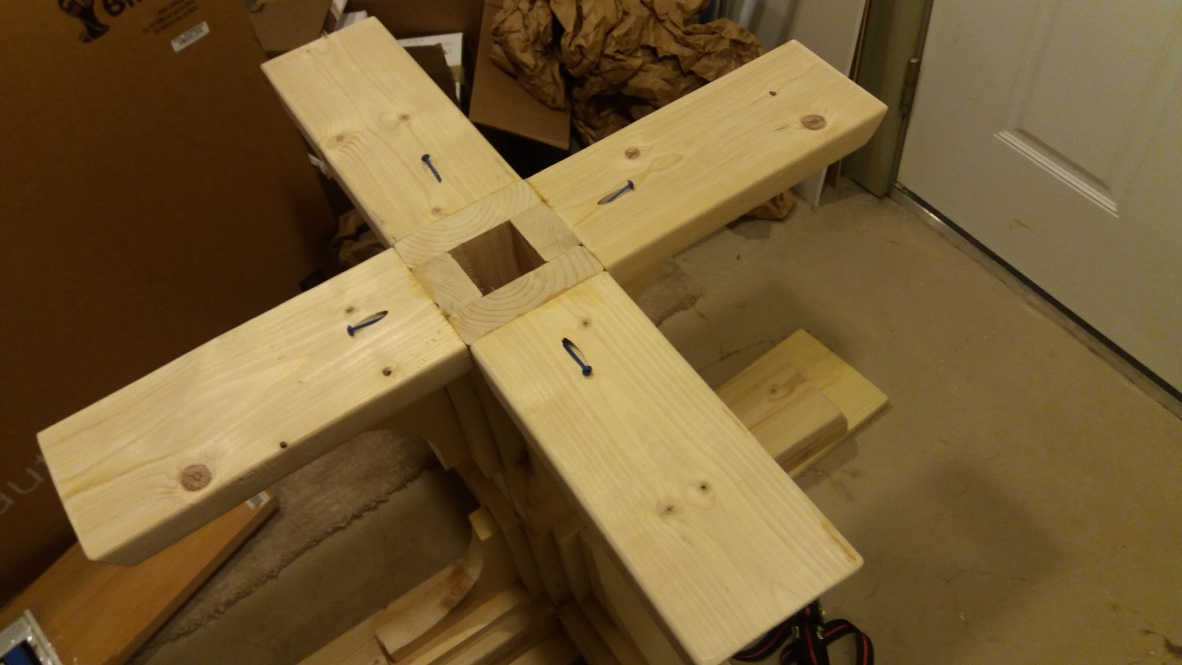
Drill pocket holes for 2x material into the top AND the bottom of the 4 feet with the 1x6s attached to them. The top pocket screws need to be inset at least 2” from the outside edge so that they will be covered up by the pieces attached in next step.Images from Ana-white’s plans
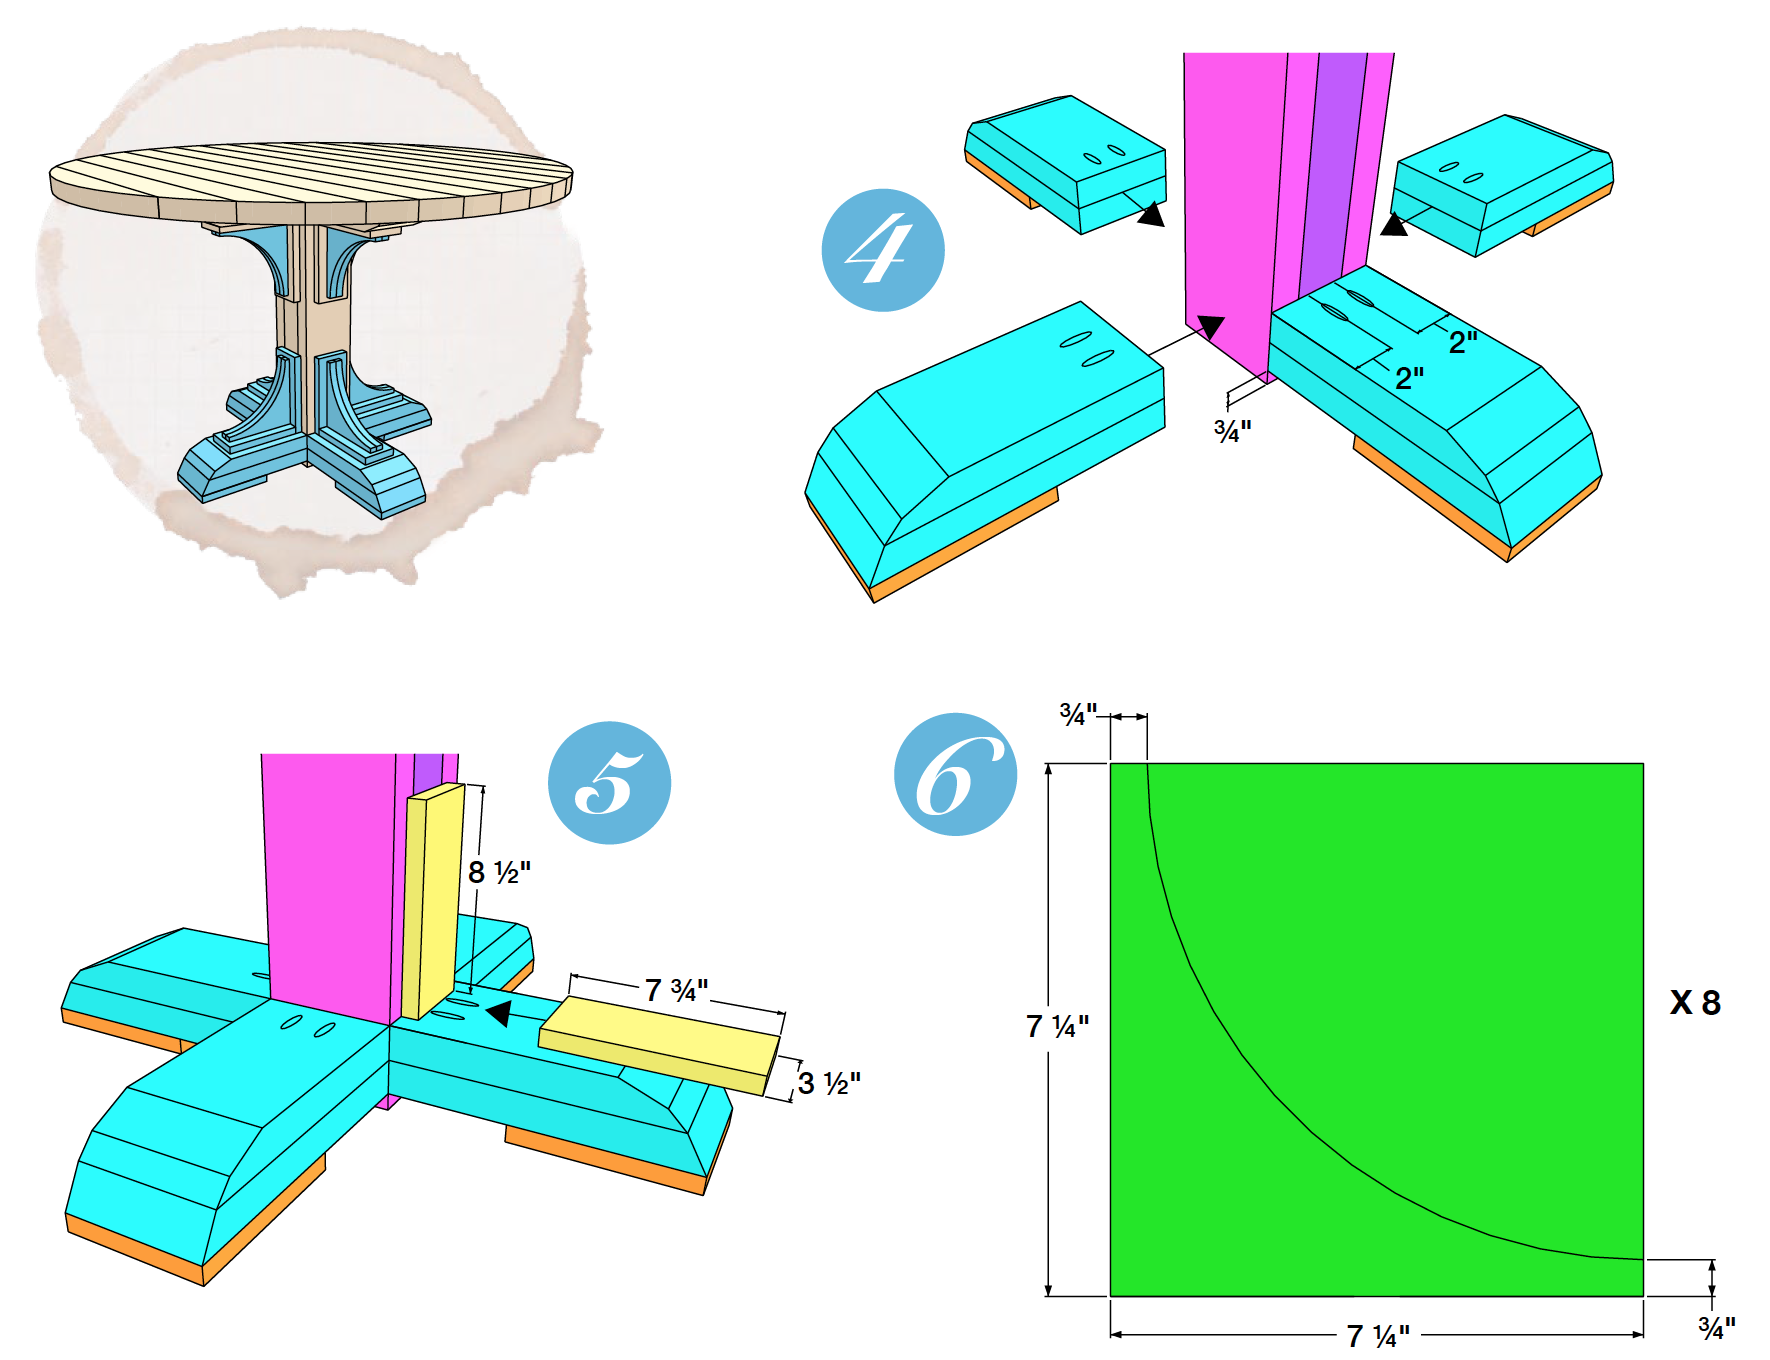
Attach the feet to the column with glue and screws so that the main middle column protrudes 3⁄4” past the feet so that it is flush with the 1x6 pads.
Step 5:
Cut the 1x4s to length. Attach the 8-½” pieces vertically, centered, on the column with glue and 1-¼” brad nails. Then attach the 7-¾” pieces horizontally with glue and 1-14” brad nails. Repeat for all four bottom feet.Step 6:
Decorative arch pieces. To get the bulkier look you will use 2 1x8s glued together. Depending on your jigsaw you will either have to cut out the arcs first then glue the pieces together or glue up the boards first and then cut the arc. An easy way to form the arc is to trace a gallon paint can. Just mark ¾” in from 2 sides to start the quarter circle shape as shown in the drawing above.Step 7:
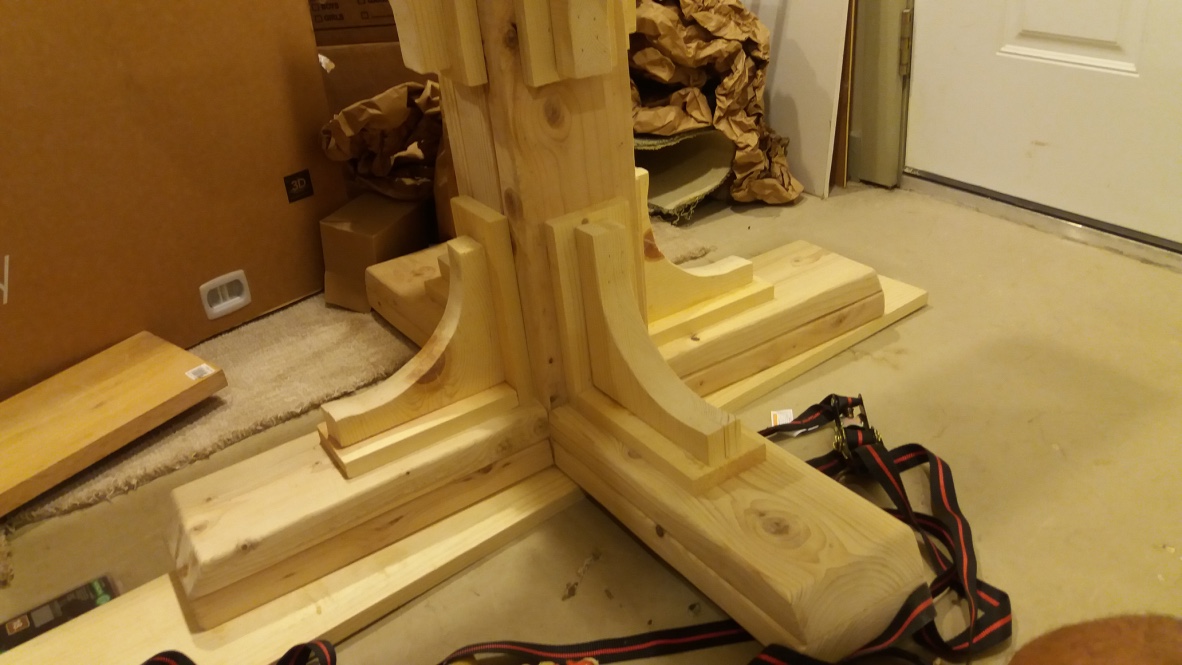
Now attach the decorative arc pieces using wood glue and 1-1⁄4” brad nails.
Step 8:
Now flip the column over and attach the top feet the same way you did the bottom feet with the exception of placement. The top feet they will be attached flush with the top of the column since the 1x6 pads are not used here. Remember, drill the 2x material pocket holes inset 2” from the outside edge so that they can be covered up by the decorative pieces.
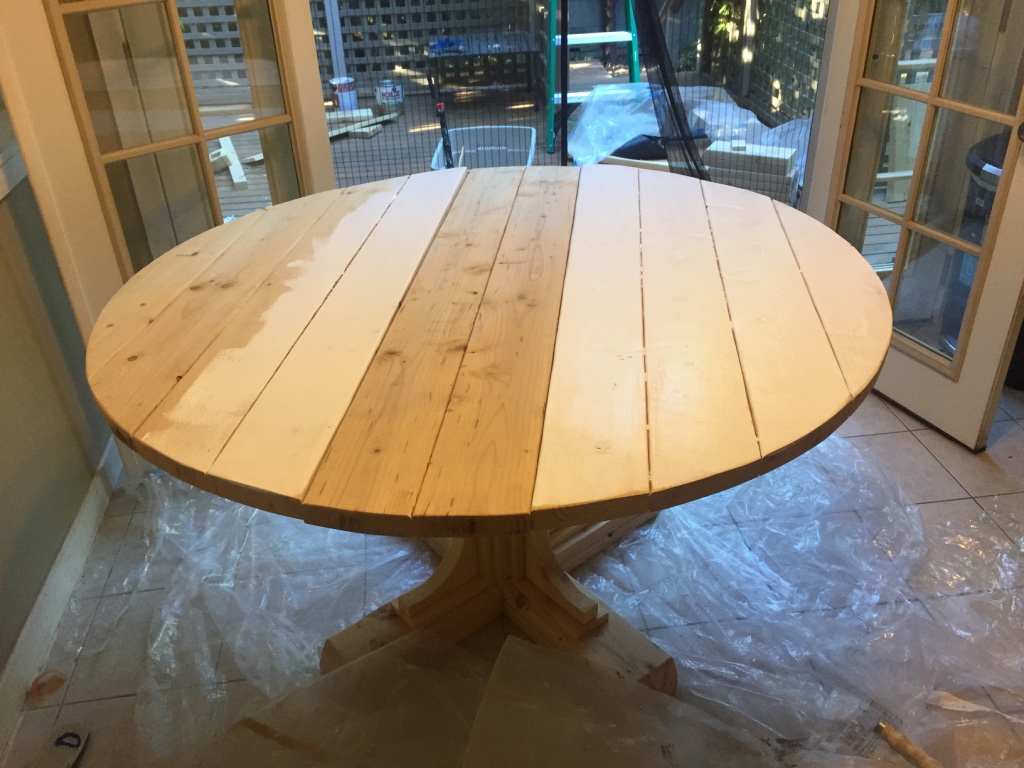
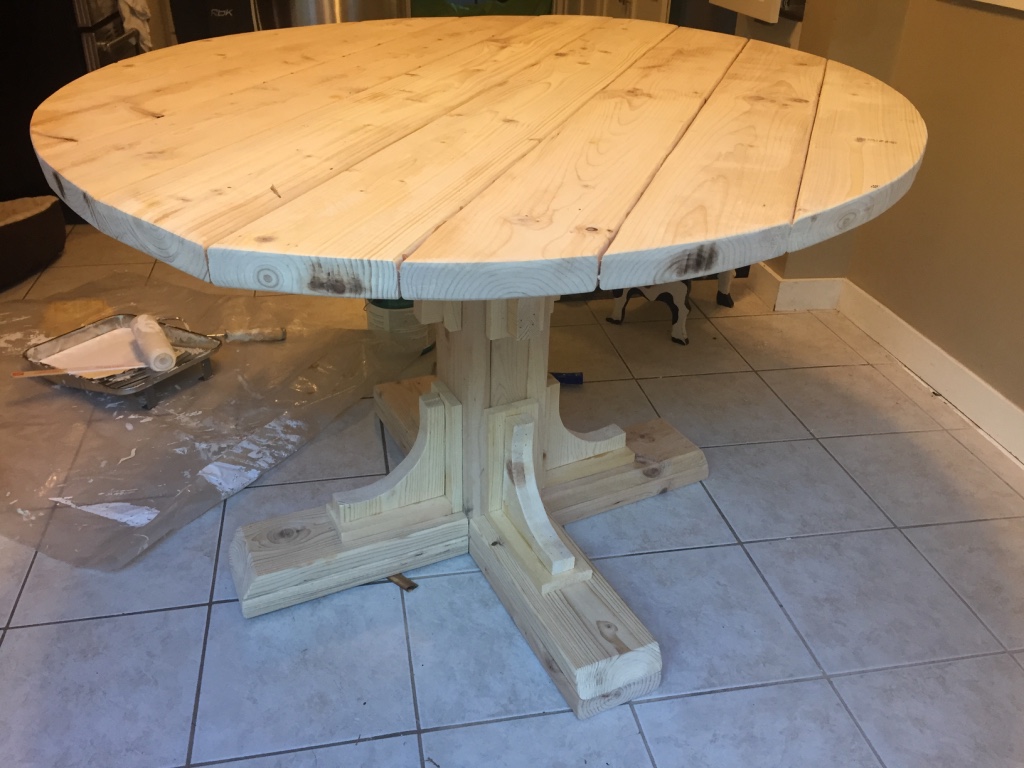
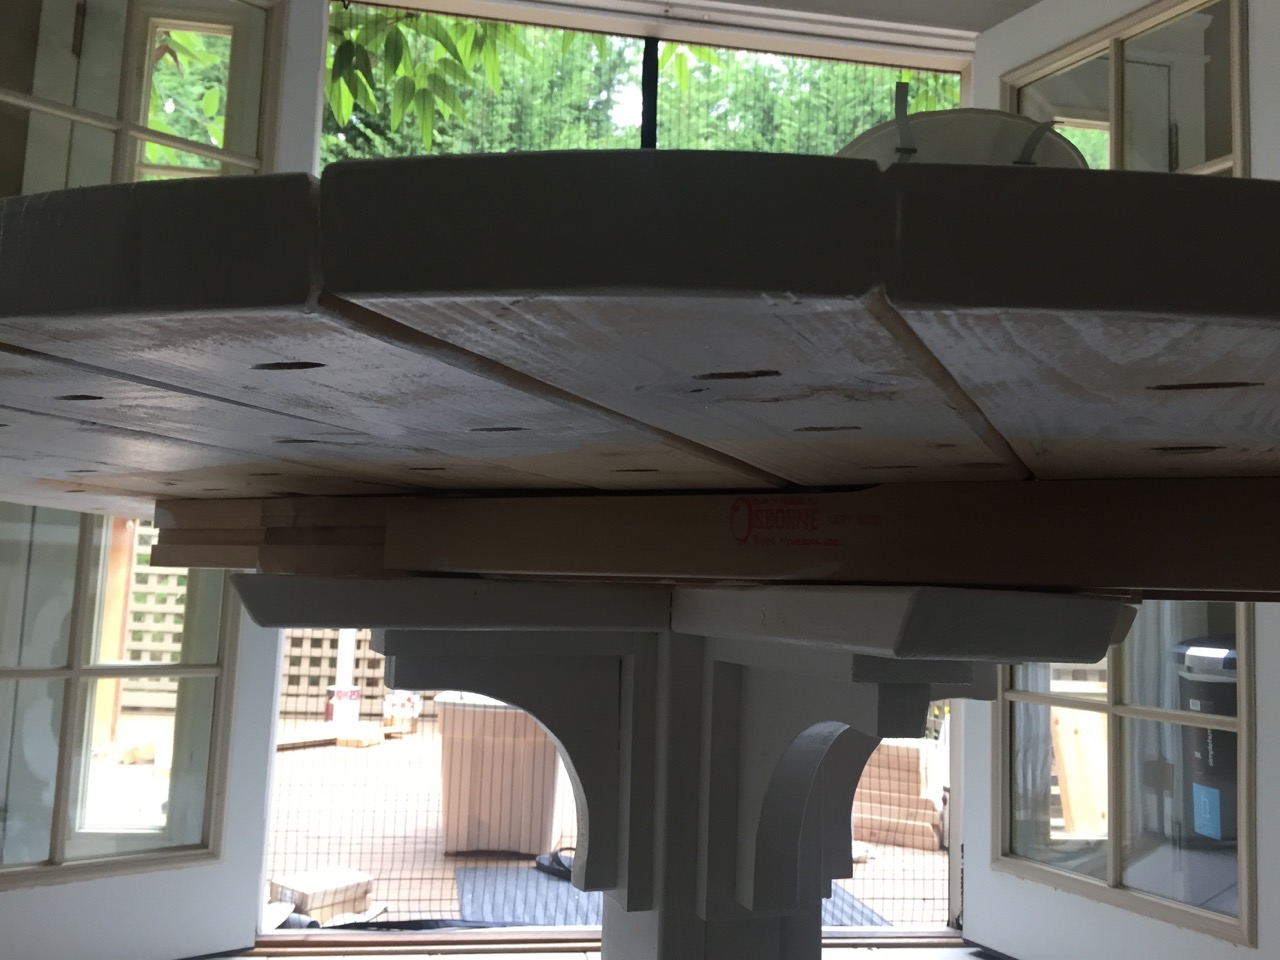
Now attach the column structure to the center of the bottom (the side with all the pocket holes visible) of the table top. Attach with 4” spax screws through the upper feet. You may want to drill pilot holes first but don’t forget to use a piece of tape on your drill bit so you don’t drill through your table top. You won’t use glue here as you want to allow the wood to expand and contract with the various humidity levels throughout the year.
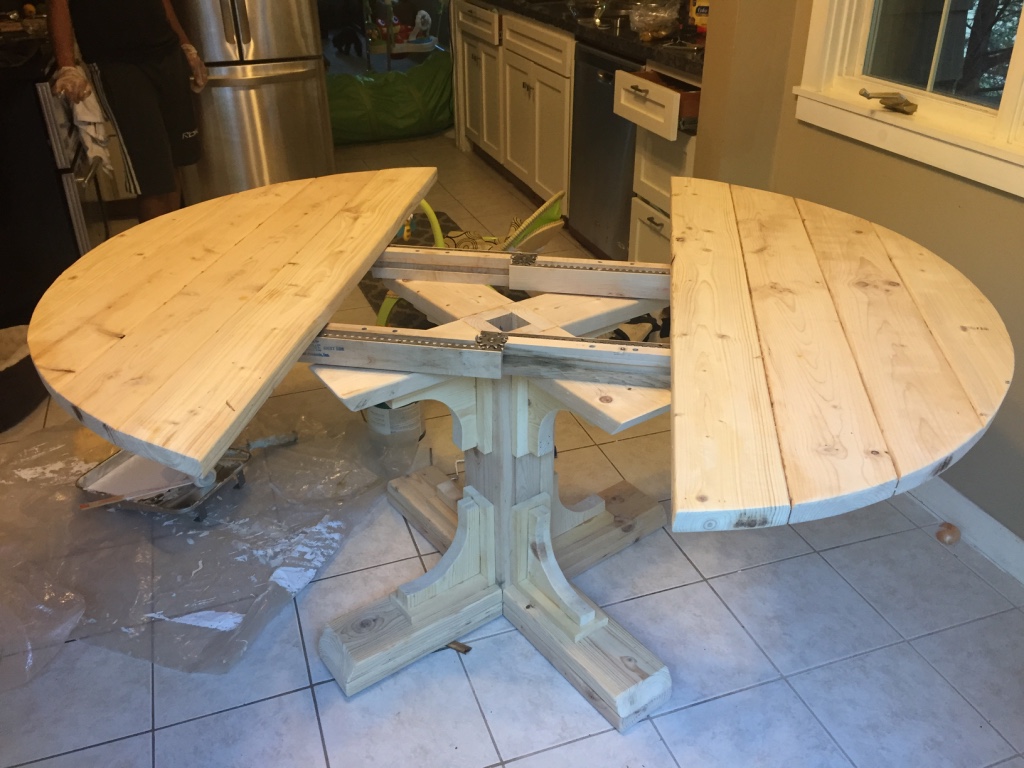
Step 8a:
Remove the leaf 2x6 out, join the rest (Will form the shape of a fish/eye) place the equalizer on it and measure how far out you want to place them.Now place the equalizer on the top of the pedestal and make sure enough screws will go through them.
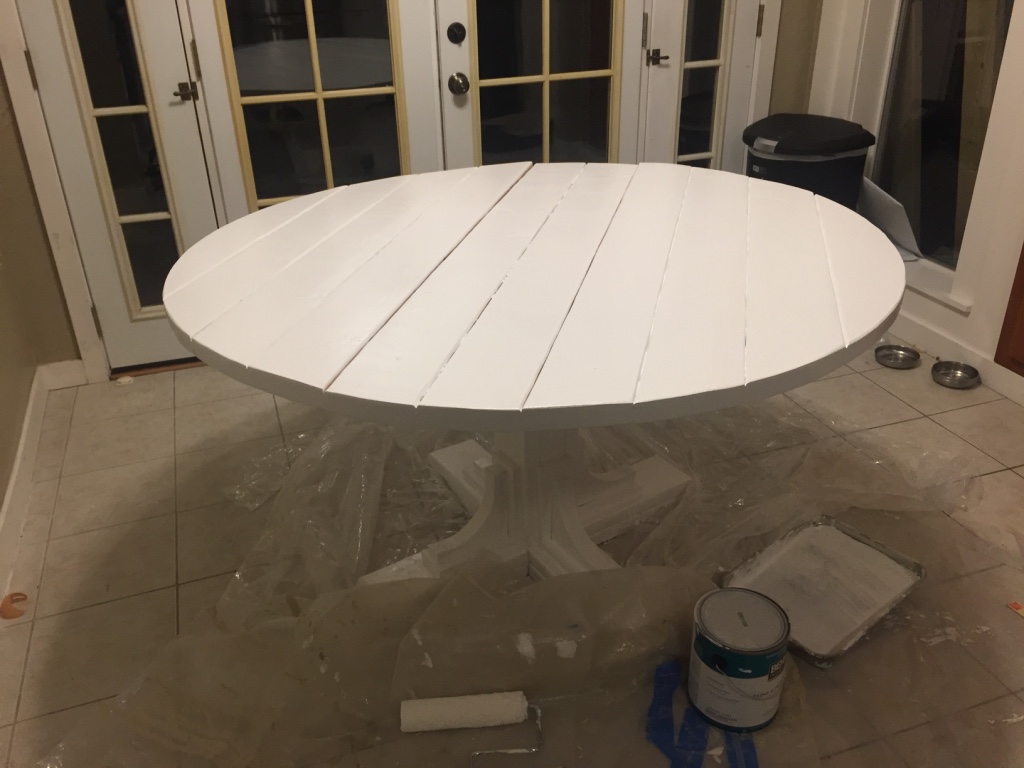
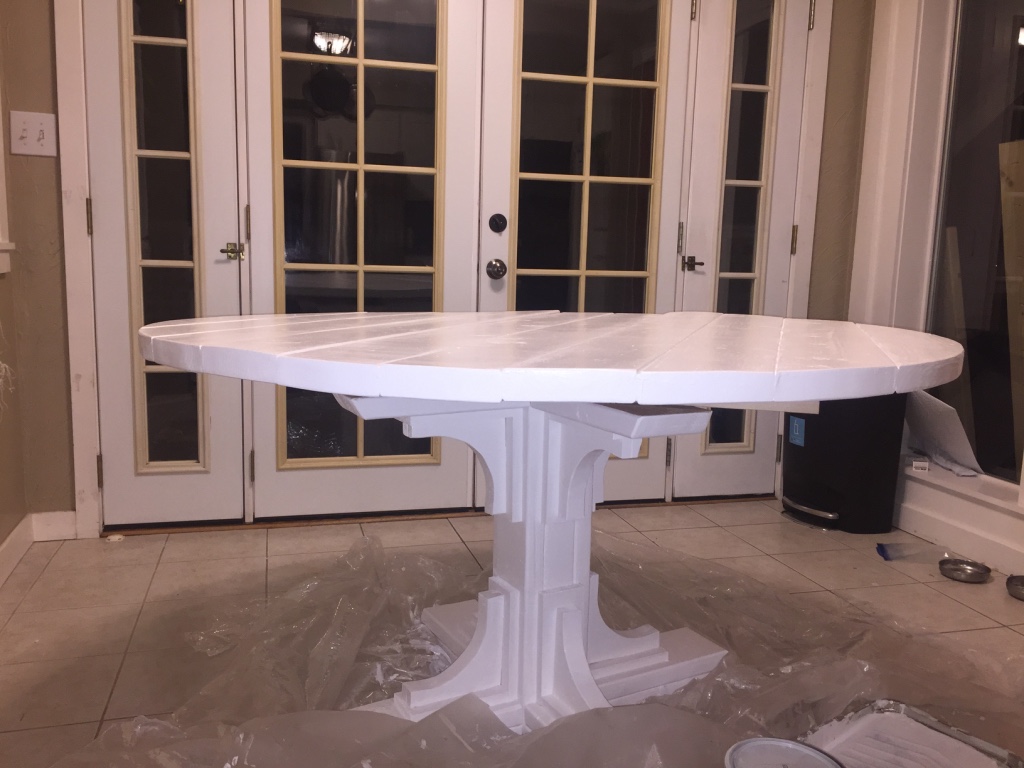
Step 9:
Now simply attach all the decorative pieces the same way you did for the bottom feet.